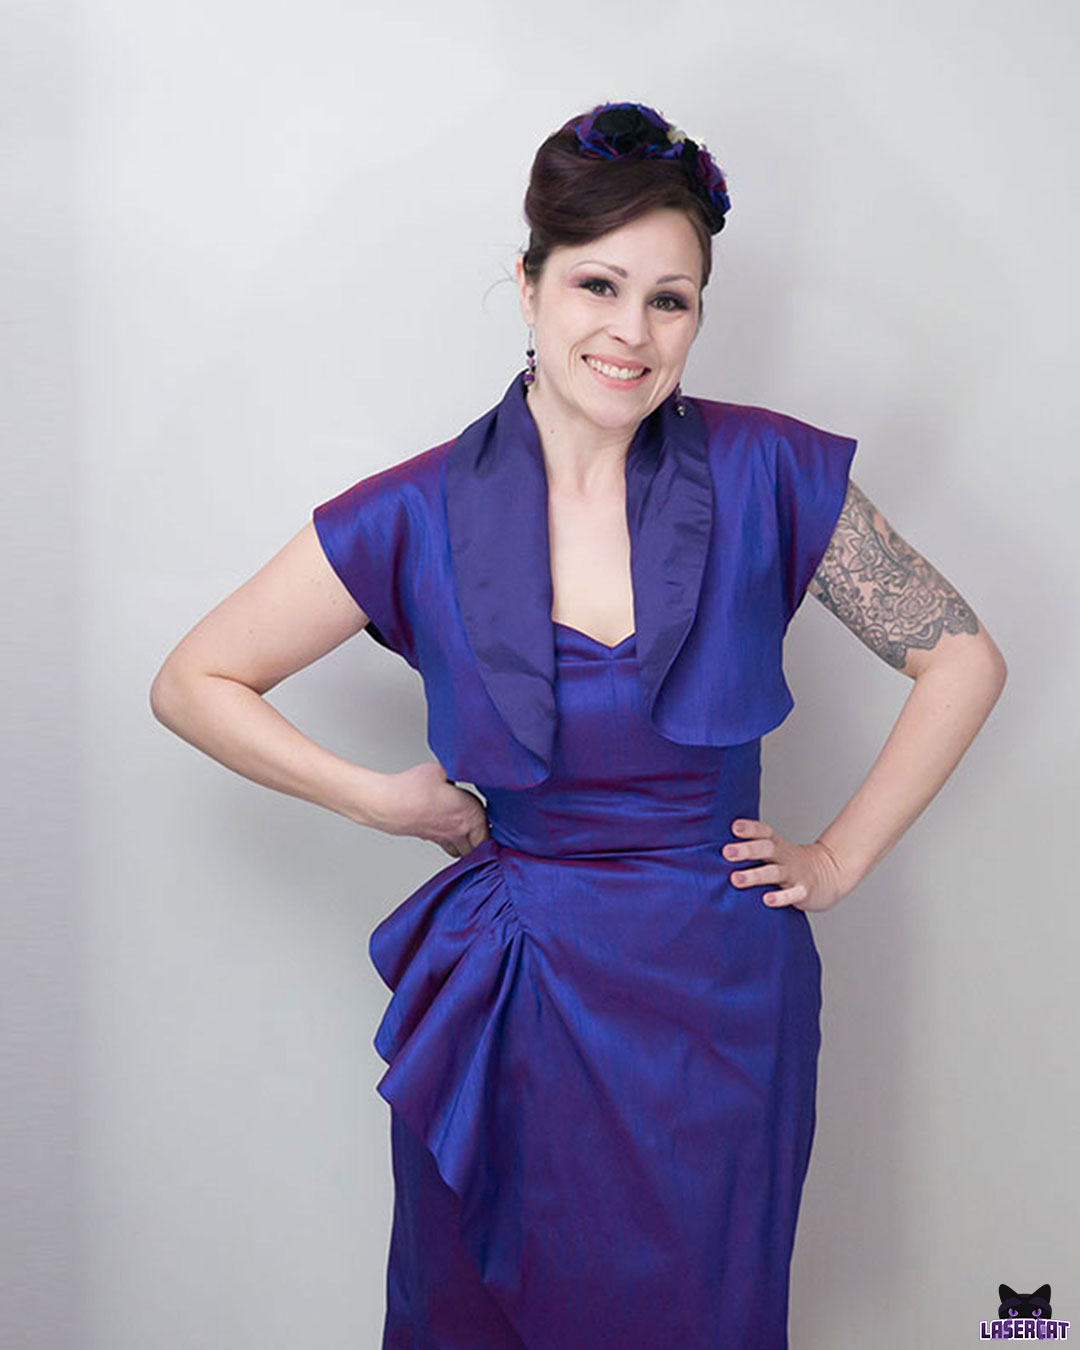
Sewing a strapless dress has long been one of the biggest challenges for me. Just because I thought I wouldn’t be able to wear that anyway. But now I dared and sewed an absolute dream dress out of purple wild silk.

Few sewing patterns fit as perfectly and are as beautiful as Charm Patterns’ Lamour Dress. The cut is based on the “Hawaii dresses” of the fifties and sixties, but can be implemented in so many different ways that anything can be created – from a beach outfit to an evening dress.
My first Lamour Dress was actually a “Hawaii dress” – but not for me. I sewed it for the singer Betty Sue Miller in 2021 for her summer concerts.
I never thought I would sew myself a strapless dress, but I did. It is strapless, it fits perfectly and it doesn’t slip down a millimeter – even after a long, festive evening it still fits perfectly.
From the moment I sewed it I was amazed by the beauty, fit and quality of this pattern.
strapless? No thank you!
Betty Sue looks really great in her lamour dress. She has the perfect figure for a strapless dress. As for myself, I’ve actually always preferred tops with straps.
Strapless dresses or tops from the store just never really fit me. I’ve always looked like a sausage in the stretchy “tube tops” that were so fashionable in the 2000s. Also, they tend to slide down all the time. And since pregnancy at the latest, my connective tissue has required me to wear a well-fitting bra under every top. And strapless bras somehow always pull from the chest towards the waist, which becomes really uncomfortable after a few hours at the latest and doesn’t look very good either.
That’s why the strapless version of the Lamour Dress wasn’t for me. But I still couldn’t put the cut away in the closet that easily. And so I developed a variant of the top with straps and without the boning, which I sewed for my Playsuit 2021.
But somewhere in the back of my mind the idea of sewing the first dress variant without straps and with the asymmetrical stole part for me was still slumbering.
The stuff of my dreams
It so happened that in January, by sheer coincidence, I discovered a fabric shop that I couldn’t drive past, of course. In that fabric store in Riedlingen, I discovered the fabric that made me recognize MY strapless Lamour Dress at first glance.

To be precise, it is polyester with a wild silk look. Not high quality, not expensive, but PURPLE and gorgeous! 💜💜💜
The Pattern – Gertie’s Lamour Dress
The Lamour Dress is from Charm Patterns , the label of Gertie, the most famous vintage seamstress and influencer in the world (I claim). You can buy the pattern directly there as a download pattern. However, I recommend the paper version, which can also be purchased here in Germany via PoppyRay Vintage. The paper cut comes in a very beautiful and high-quality designed folder with a great instruction and inspiration booklet. It is printed on tissue paper and can be perfectly traced from it.
The most ingenious thing about the cuts from Charm Patterns is, in addition to the high level of accuracy, the size system. The top is available in different cup sizes. The size is not determined by the usual chest circumference, but by the combination of waist, chest and overbust measurements. As a result, the range of sizes also covers body shapes beyond the standard and takes into account more unusual proportions in the dimensions.
For me, I ALWAYS have to adjust normal patterns in the bust and waist area because the ratio between overbust, bust, waist and shoulders is quite different from the standard, this is perfect. I traced the pattern in size 6 with cup size DD. For the skirt tail I used size 8 and narrowed the waist a bit.
The material

In addition to my purple dream fabric, the lamour dress needs a lot of other materials.
- Outer fabric, artificial silk about 3m
- Lining for the top: I used leftover purple taffeta here
- Inner lining: Lining silk, approx. 1m
- Ironing insert: Fabric insert, black, eg from Vlieseline
- Zipper: 50cm
- Steel spiral rods, 1cm
- Tunnel band for the sticks
- End caps or tape for the rods
- Fixed elastic band, 2cm wide for the waist holder
- 2 times hook and eye or hook eye tape for waist tie
- Fringe border for the stole
- 4 snaps
Sew an off-the-shoulder dress – my first time
The first is always the most exciting – at least when it comes to new patterns. First, however, I sewed a test piece to check the fit of the upper part and the length. I sewed the test piece in two layers, imitating the real dress and the corset boning with thick strips of cardboard.
I had already shortened the skirt part by a good 20cm for the trial part because I didn’t like the calf-length original so much and I preferred knee length.
Using the test piece, I then made the overbust measurement, i.e. the upper edge of the corset top and the waist at the front part, a little narrower. The top fitted well right away around the chest and back. I only added 2cm length to the whole thing.
Since I had already sewn the pattern once, the sewing went very quickly by hand. First I sewed the lining and then tried it on again to check the fit.
Then it was the turn of the tunnel strips for the rods. I used to use bias tape for the boning of corsets and corsages, but I’ve now gotten stuck with the finished, doubled tunnel tape. It is thin, but still very stable and also protects the fabric of the lining part from the metal of the tab.

I use steel spiral boning. I experimented with crinoline tape last year, but there’s simply nothing better and more durable for a corset top than steel boning. Cutting them requires some physical effort. I do this with a large wire cutter.

By the way, the outer fabric was terribly frayed and fluffy, which is why I trimmed all the edges with the pinking shears. Even if they are hidden inside the lining, they cannot fray. There was an absolute lint explosion in my sewing room due to the many small spikes, but it was worth it.

After the bodice it was the turn of the skirt. Due to the cut, gathered ruffle, which is also completely folded over with a facing, the cut parts look huge at first. Sewn together and turned, then suddenly very short.

This is where my new linking machine came into play. In January I exchanged my old Singer overlock machine for a freshly restored, fully functional Viktoria linking machine from the seventies. I will write a hymn of praise for this machine in another post, that is beyond the scope of this story. 😉
Finally, the “Drape” was created, for which I simply cannot find a suitable translation. It’s actually just a long strip of fabric with fringes on one end and ruffles on the other. The drape attaches to the dress at the front with a few snaps.
It can be worn as a stole or as an asymmetrical “strap” that then hangs down the back like a sari.

Why this dress stays in place
If anyone knows about perfectly fitting vintage dresses, it’s Gertie. That’s why this cut comes with the ultimate trick for strapless corsage dresses. In addition to the perfect fit of the top, the “waist stay” is also responsible for the perfect fit. Translated it is the “waist halter”. This is nothing more than a thick, solid band that is sewn into the dress on the inside of the waist and fastened with two hooks at the back. This prevents the top of the corset from sliding down over time when worn.
I’ve given this a small update by using a very firm rubber band instead of a grosgrain band as advertised. The width of the elastic band is about 1.5 cm less than the waist size of the dress and therefore sits very tight on my body. However, the elastic makes it comfortable and allows more freedom of movement than a solid cotton band.
Use of leftovers: hair flowers
What would a great outfit be without a matching headpiece? I may not be able to do beautiful hairstyles, but I can do great hair accessories. I made two large hair flowers from the leftover material from the lining and the purple silk fabric, which go perfectly with my pool of flower clips.

Purple Lamor Love
When I wore the dress to the opera in Berlin in March, a young student approached me and asked where I got this dress from. When I told him I sewed it myself, he asked me where I studied fashion design and what label I work for. That made me incredibly proud and happy.
Otherwise, this dress just fits me so well and embodies what makes my style so perfect at the moment that I would like to wear it all the time.

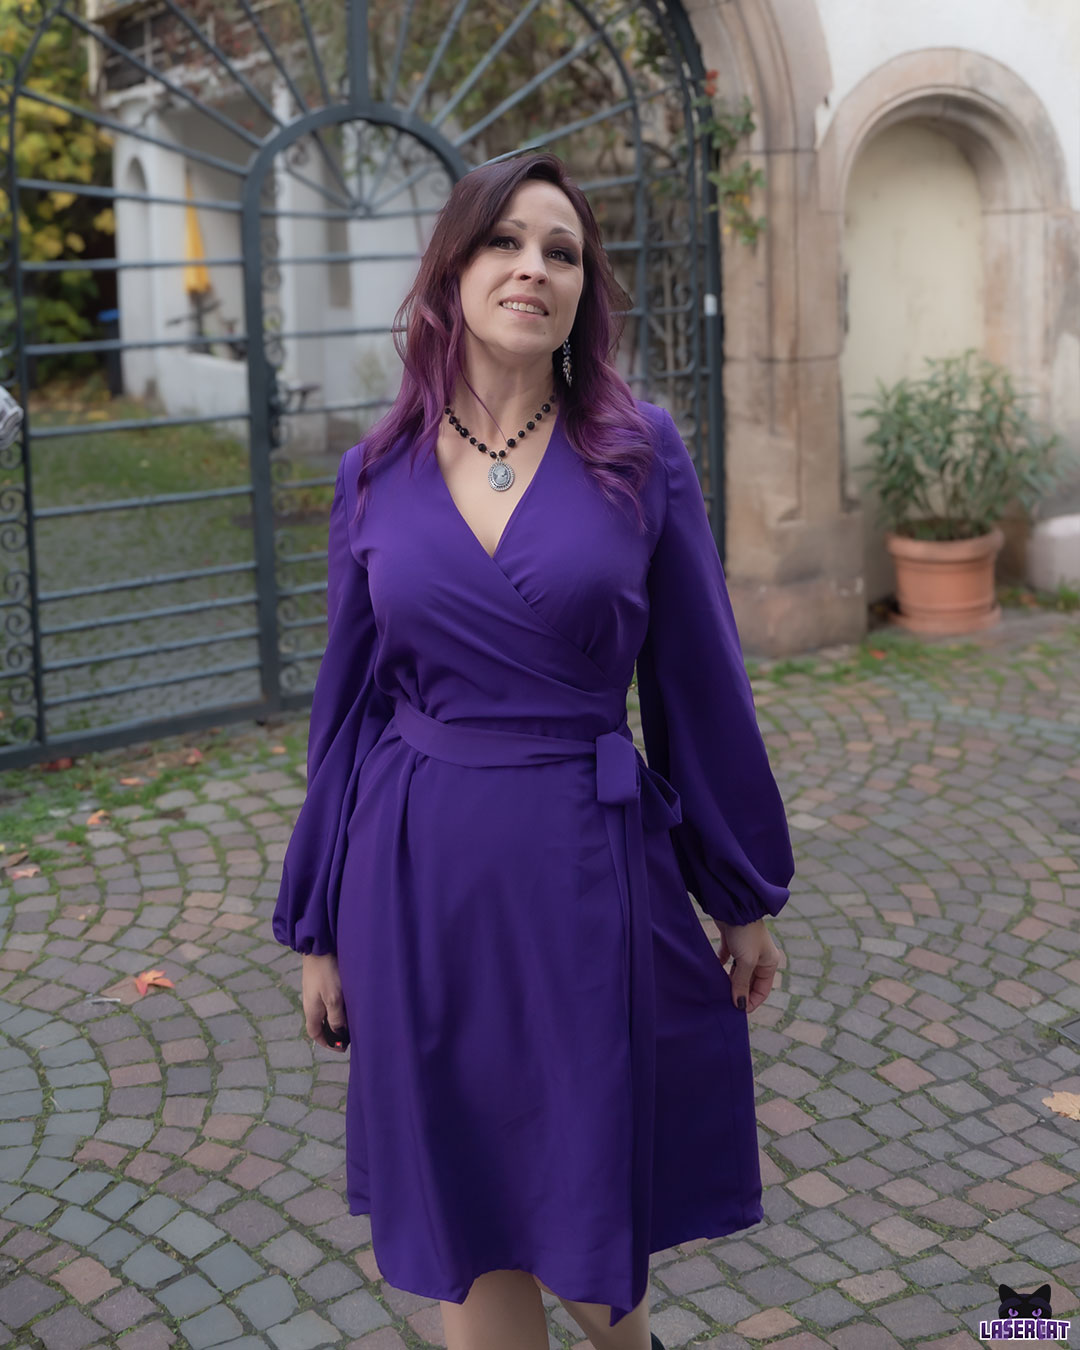
The dress can be worn in a very classic way, as shown in the photo, but is quite changeable. For the visit to the opera in Berlin I styled it with Doc Martens and a jeans blazer and simply wrapped the “drape” around my neck as a scarf. Unfortunately, I only have a badly exposed mirror selfie from the great visit to the opera, but it is a wonderful memory.

I really like the look with the drape as a scarf. While the shoulder strap looks great, the “scarf” makes me feel a little less bare on top. 🙂

I wish you, dear reader, a wonderful start to May and many beautiful, inspiring and creative sewing moments.
Your Lasercat